What kind of error do you get when trying to visualize the image?
1 Like
I tried online .nii to dicom converter. I was getting corrupted file error, This worked fine on the raw brain.nii.
I would need to see the error in detail to know what is going on, I also do not know about that converter. Does the nifti work in typical nifti viewers (like fsleyes for example)? Also why do you need to convert back to dicom? Most neuroimaging softwares work with nifti images.
1 Like
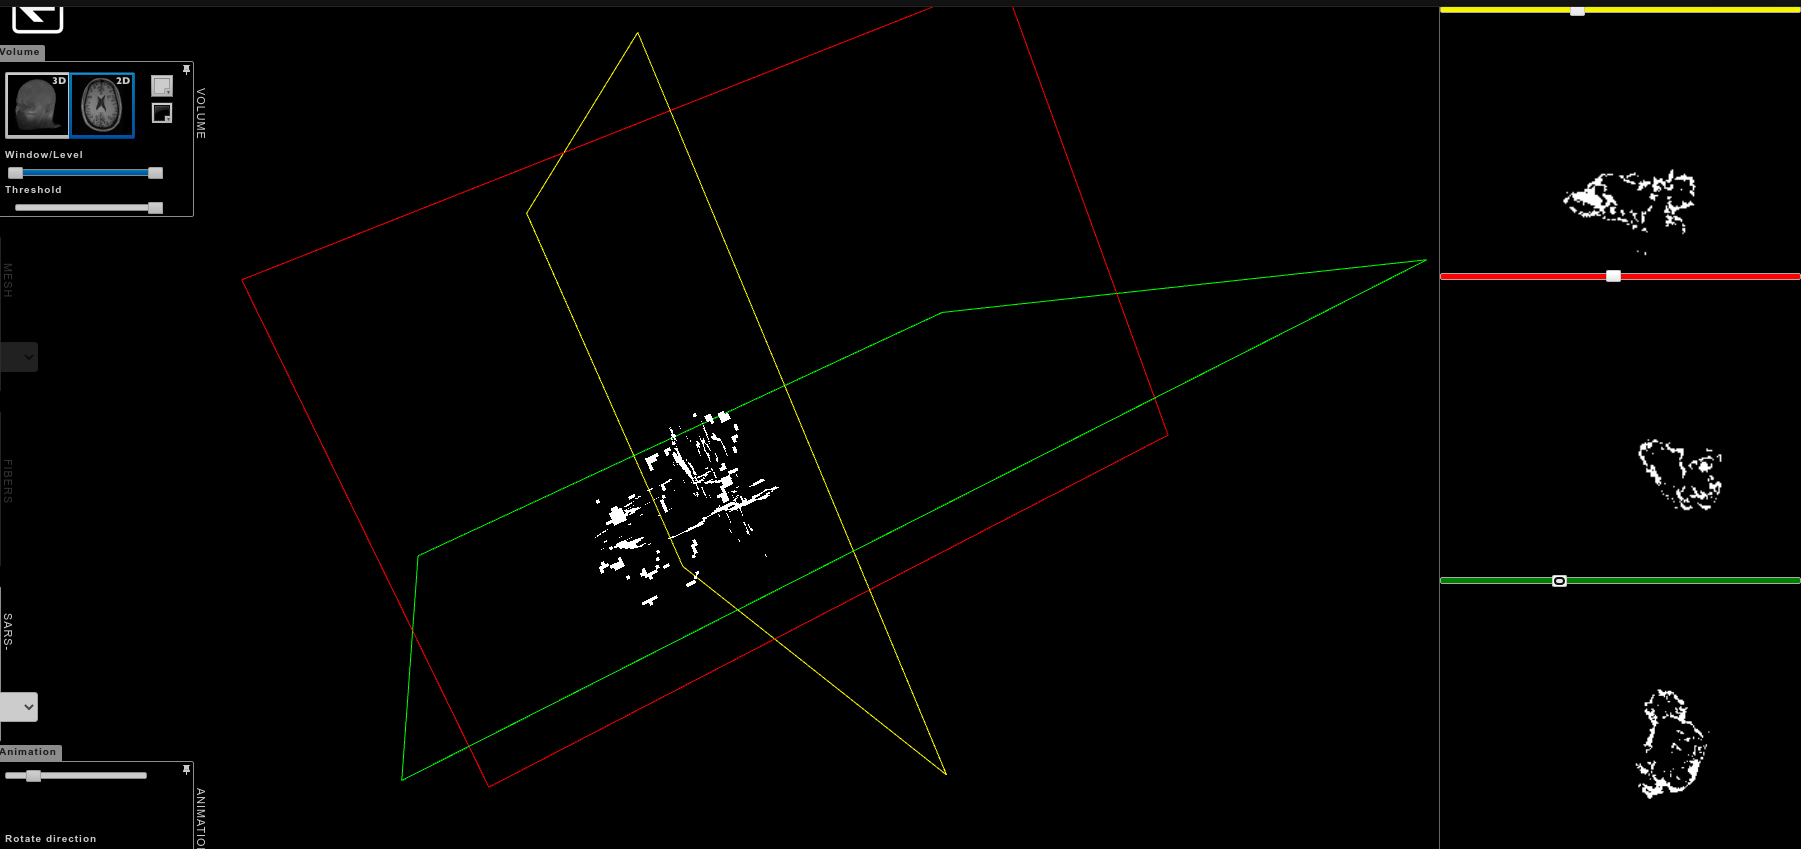
I am doing volume rendering on the tumor to generate the 3D file of the tumor. Hence I need the tumor alone without the surrounding brain data in scan. One of the converter for MRI to 3D works wells for DICOM images.
This is the .nii that was generated. I am not sure if this is right, because, I used :
mask= ni_img.resample_to_img(brain,mask,interpolation=‘nearest’)
while the documentation said :
nilearn.image.resample_to_img(source_img , target_img , interpolation=‘continuous’ )
So the source should be mark image right ? When I swapped the position of parameter (brain as source,mask as target) , I was getting the old error as : shape (91299,) does not fit
Source should be the mask image, which you want to resample to the target/brain image. When you do that your mask image should share the same dimensions as the brain image. Also, I am assuming that your mask is binary 0/1, is that correct?
1 Like
Here is what worked for me:
import nilearn.image, nilearn.plotting
import nibabel

brain_path = '/Users/smeisler/Downloads/BraTS20_Training_020_t2.nii'
brain = nilearn.image.load_img(brain_path)
brain_data = brain.get_fdata()
affine = brain.affine

mask_path = '/Users/smeisler/Downloads/BraTS20_Training_020_seg.nii'
mask = nilearn.image.load_img(mask_path)
mask_data = mask.get_fdata()

mask_indexes = (mask_data==1)
brain_data_in_mask = brain_data * mask_indexes
brain_data_masked_img= nibabel.Nifti1Image(brain_data_in_mask, affine)
nibabel.save(brain_data_masked_img, '/Users/smeisler/Downloads/test.nii.gz')
nilearn.plotting.plot_img(brain_data_masked_img)
The problem with my last answer is that is that I was doing
brain_data_in_mask = brain_data[mask_indexes]
whose size will only be as big as the mask image, instead of
brain_data_in_mask = brain_data * mask_indexes
which will return a matrix the same size as the brain.
Sorry again for confusion and hope this works for you.
Best,
Steven
1 Like
I also feel silly because I feel like this could have done the same thing: nilearn.masking.apply_mask - Nilearn
1 Like
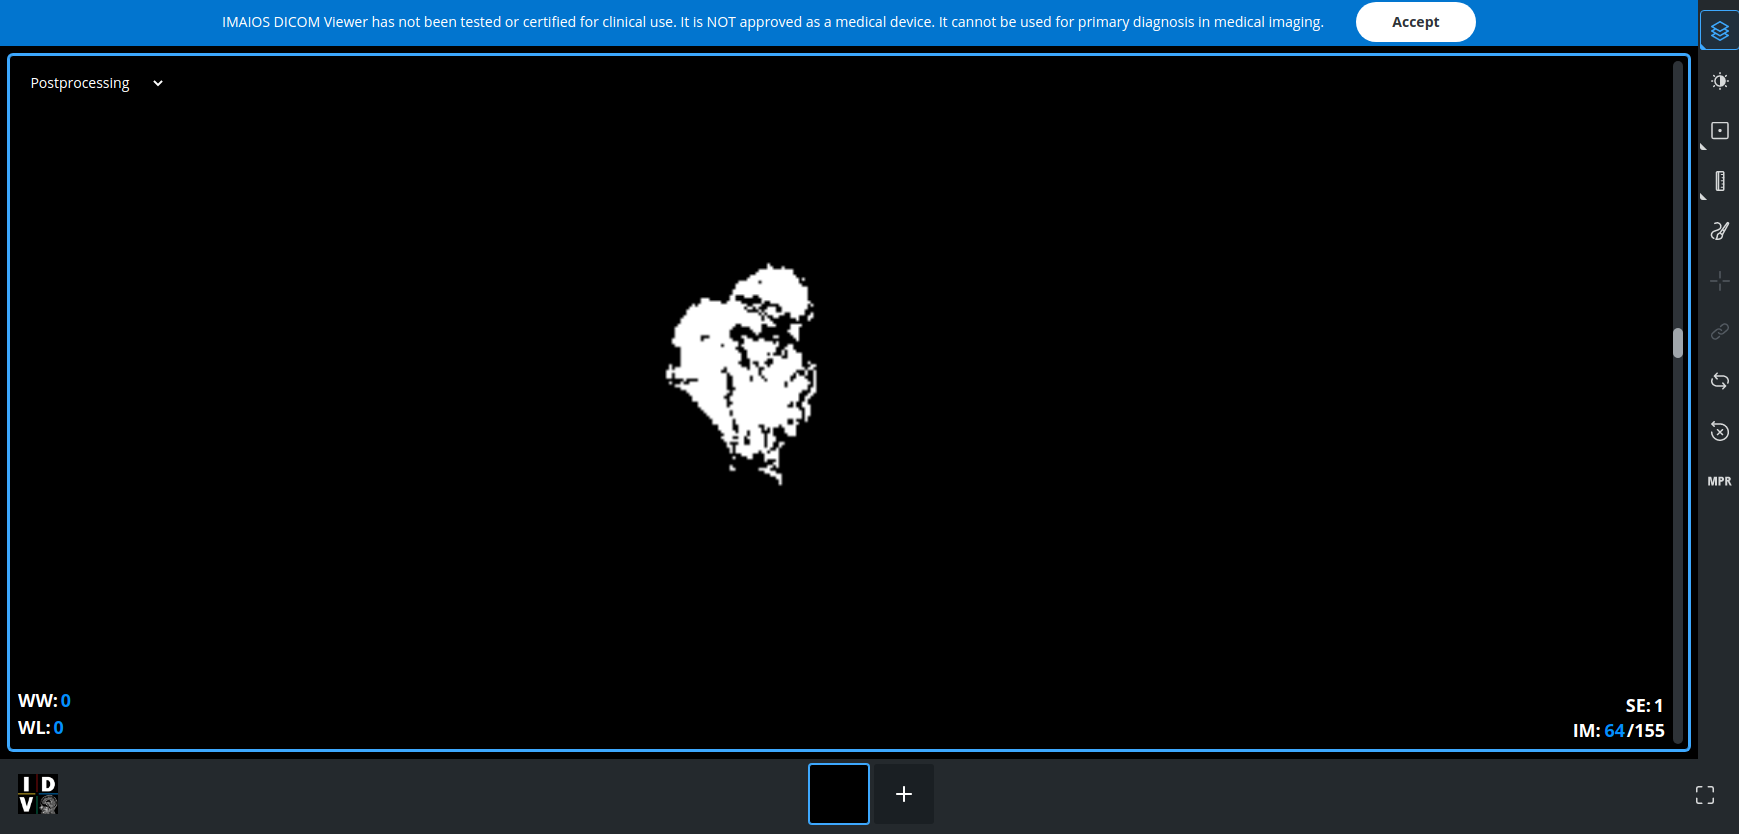
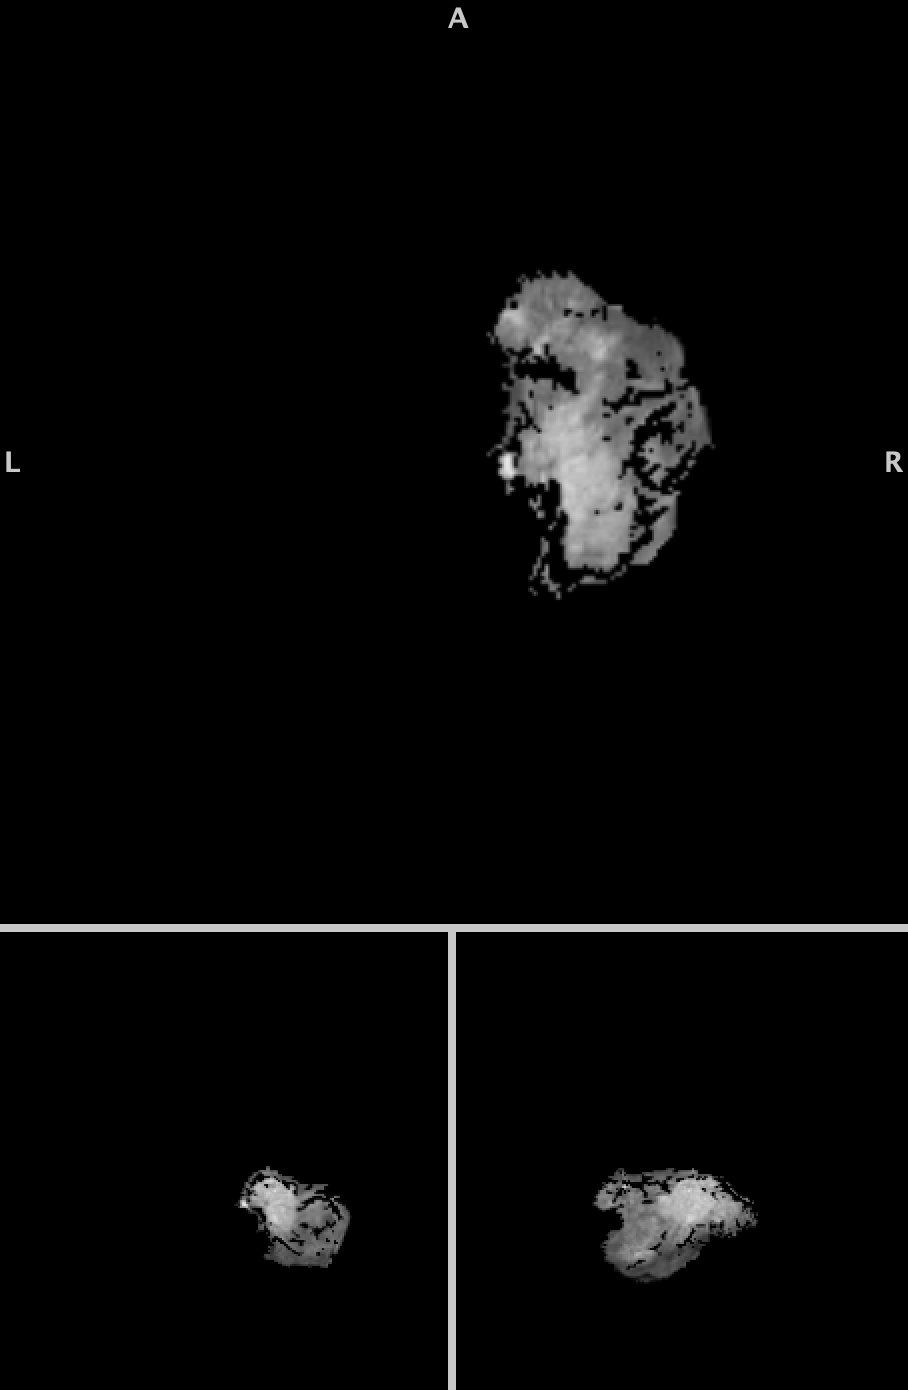
Thanks for the help. I tried the first one. I got the segmented result, but when I viewed. It doesn’t look like MRI image. It appears just back and white.
I tried the apply_mask, looks there there [0,1,2,3,4] in the mask, so couldn’t use it.
You can ensure your mask is binary with nilearn.image.binarize_img - Nilearn
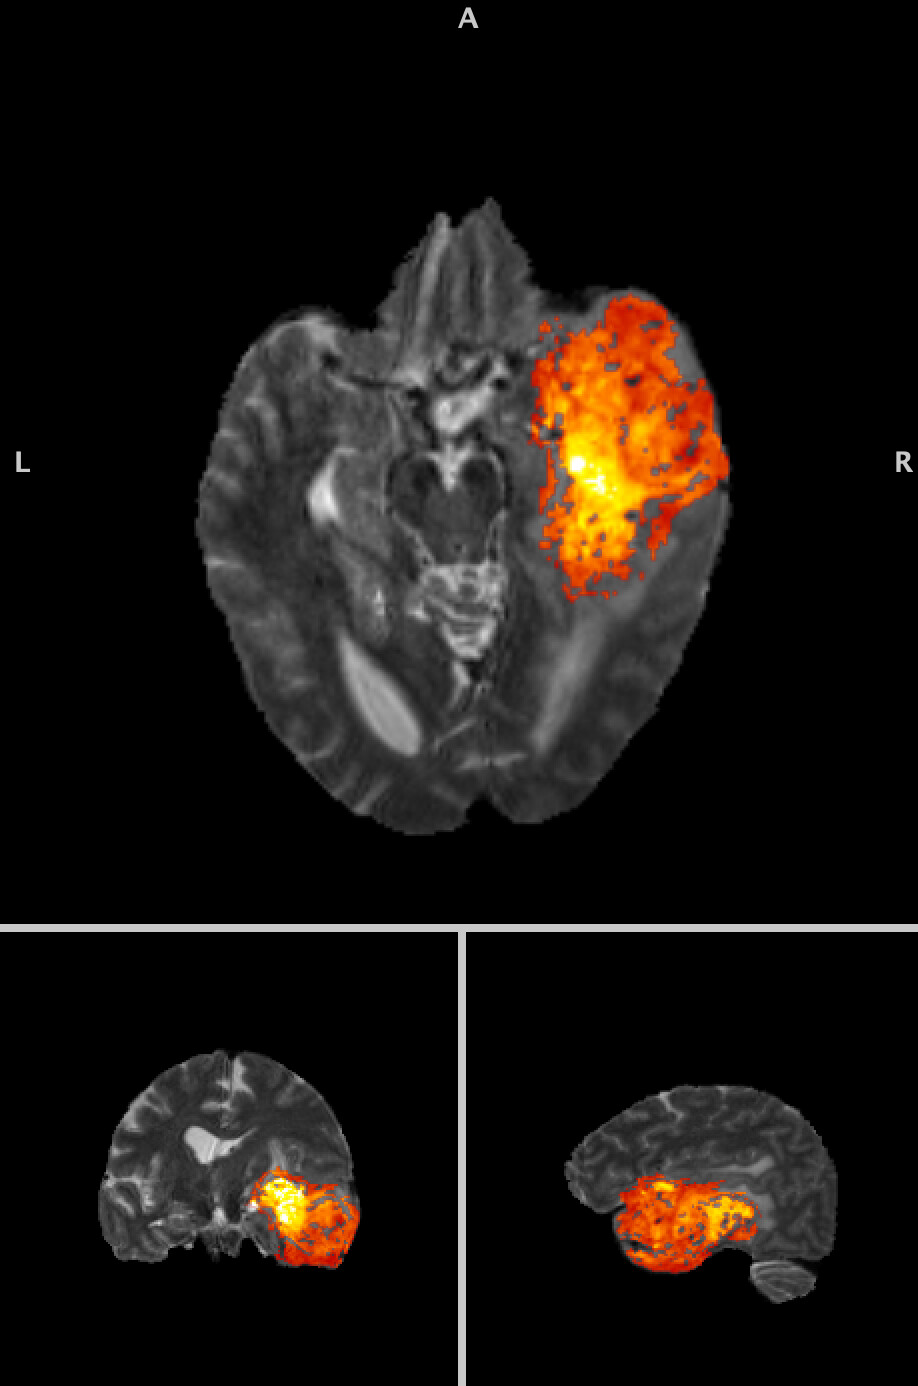
My result from the code I wrote out has the full range of values
(now overlayed on the original image)
1 Like
I think there is something missing in the .nii that is generated.
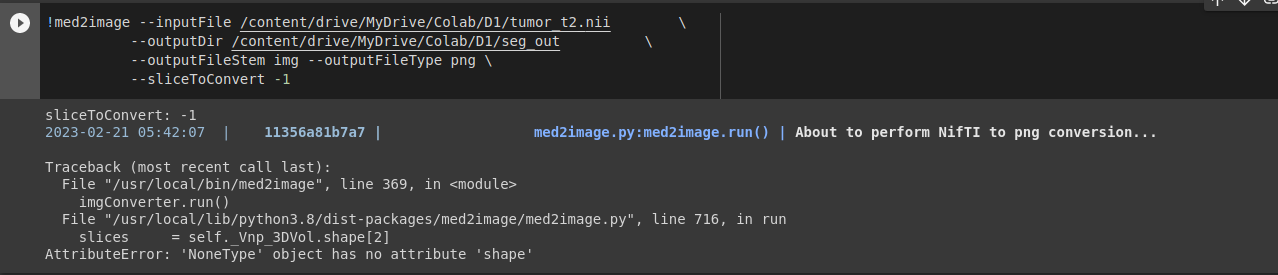
https://pypi.org//med2image/
I tried converting the brain_data_masked_img.nii into png and had issue in conversion. But the main brain.nii was convertible. Like you said, I can view the results in the colab note, but cant use the exported .nii. Something is off in the exported .nii
nibabel.save(brain_data_masked_img, root_path+“tumor3_”+i+".nii.gz")
Perhaps instead you can initialize the final img with nilearn.image.new_img_like - Nilearn while copying the header from the original file, and then set its data to be brain_data_in_mask
1 Like
Thanks a lot!!! It worked ![]()
1 Like